That reunion logo living in a group chat? The birthday photo everyone keeps laughing about? The sketch your kid made that deserves a spot on a hoodie? You can upload artwork for t shirts without being a designer - and without ordering a huge batch just to make it happen.
The goal is simple: your idea should look like it belongs on the garment, not like it was stretched, blurred, or lost in the fabric color. A few quick choices before you upload can make a major difference. Start with the best version of your file, choose a product that gives the design room to breathe, and let the free artwork check catch anything that needs attention before printing.
What to Upload for T Shirts
A finished logo is great, but it is not the only thing that can become custom apparel. A clear photo, original illustration, hand-drawn note, event graphic, school club design, or a simple phrase can all work. The best file depends on what you are making.
For a business logo or crisp lettering, a vector file is usually the strongest option. Files such as SVG or PDF are built from shapes rather than tiny pixels, so they can scale up cleanly. That matters when a small chest logo also needs to work as a larger back print.
For photos and detailed artwork, use a high-resolution PNG, JPG, or PDF. PNG is especially useful when you want the background removed, such as a mascot illustration, a signature, or artwork that should sit directly on the shirt color. JPG can work beautifully for full photos, provided the original is large and clear.
A screenshot can be enough for a small, simple design, but it is not always the best starting point. Screenshots often look sharp on a phone and fuzzy once enlarged for a shirt. If you have the original file, upload that instead. If all you have is a screenshot, send it anyway - if you select the free check, a person looks at it and lets you know if a better file is needed.
How to Upload Artwork for T Shirts Without Guessing
Think about the finished shirt before you hit upload. Is this a small left-chest logo for staff uniforms? A big, loud front graphic for a bachelor weekend? A family photo meant to feel warm and personal? Placement and size should match the moment.
A design with tiny text may look fine on a laptop but become difficult to read on fabric. Small details, thin lines, and pale colors are the usual trouble spots. If your design includes a website, a date, or names, zoom in before uploading. If you cannot read it comfortably at a reasonable size on screen, it may need to be larger or simplified.
Color choice also changes everything. A dark design on a dark shirt can disappear. A white graphic on a light shirt can do the same. Contrast is your friend, especially for event shirts where people will see the design from across a room. If you want a softer, tonal look, that can work too - just know it trades instant readability for a more subtle effect.
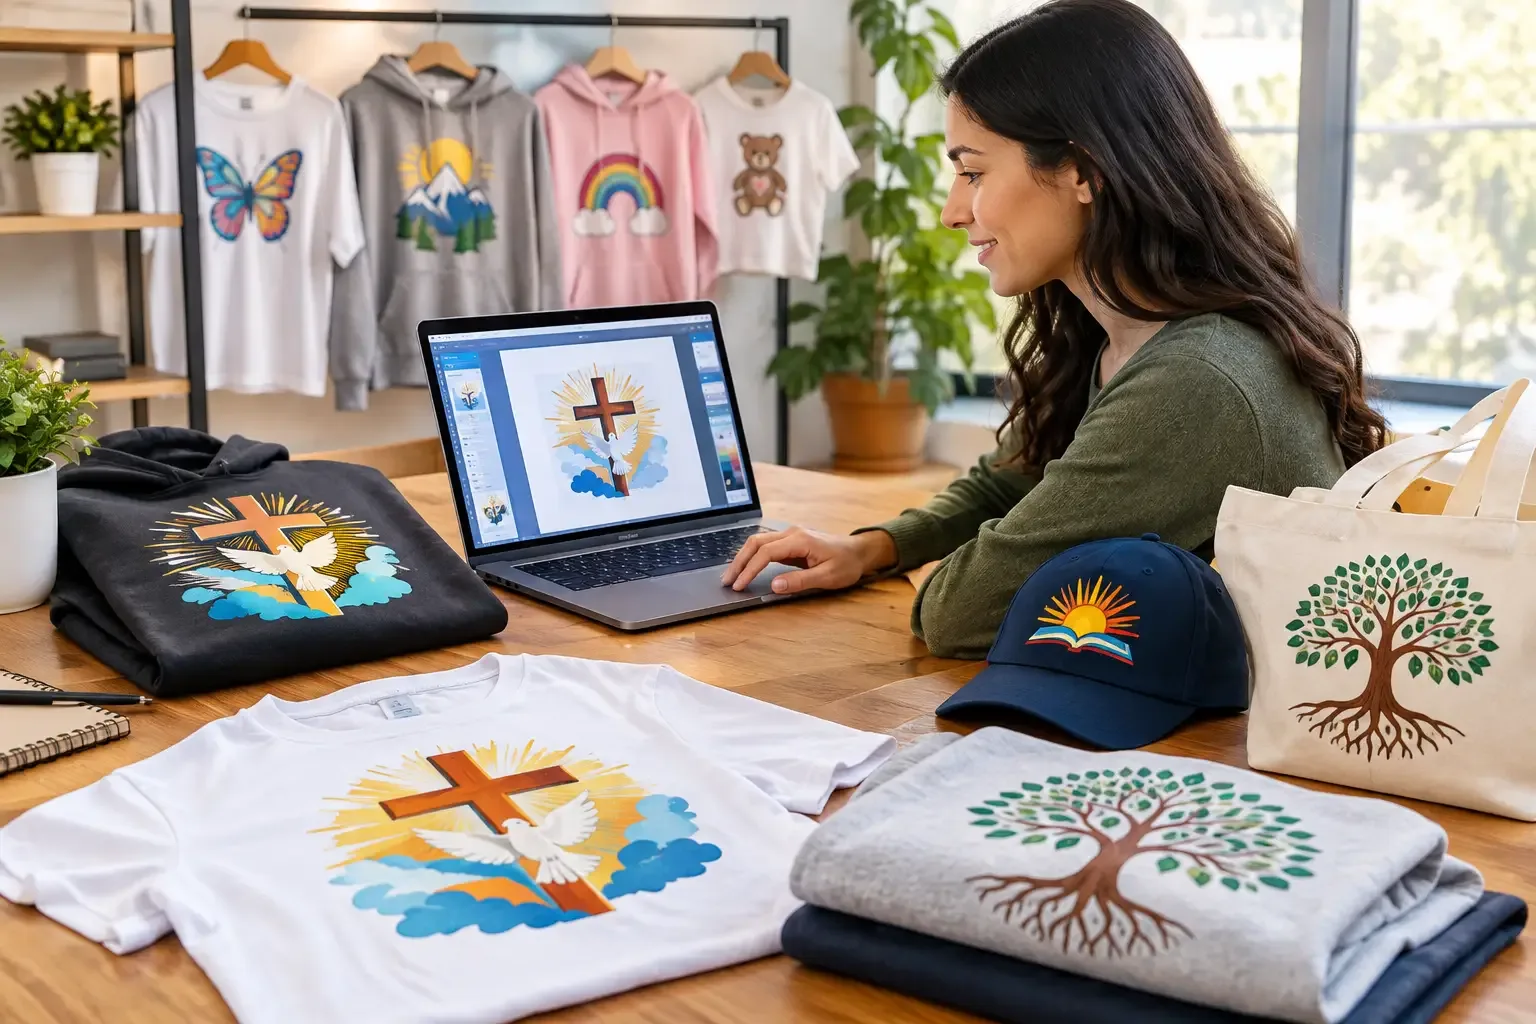
When you use the product designer, check the preview on the specific garment color and size you want. A centered graphic can look different on a kids' tee than on an adult hoodie, and a tall design may suit a shirt better than a cap. The preview helps you make the creative call before the order moves forward.
File Quality: What “High Resolution” Really Means
You do not need to memorize print jargon. Here is the practical version: the larger and cleaner your original artwork is, the more options you have.
A small image pulled from social media may not have enough detail for a large front print. Enlarging it does not create new detail - it only makes the existing pixels bigger. That is why photos can become soft or blocky, and why lettering can get jagged around the edges.
For raster files like PNGs and JPGs, artwork created at about 300 pixels per inch at its intended print size is a useful target. But do not let that number stop you. If you have a meaningful photo from an old family album or a one-of-a-kind sketch, upload it. If you select the free check, it is there to flag concerns before printing, not to punish you for not speaking designer.
Avoid taking a photo of a wrinkled paper logo or a design displayed on another screen when possible. Those files can introduce glare, shadows, and uneven edges. A scan or the original digital version will usually print more cleanly. For hand-drawn art, a bright, evenly lit photo on a flat surface can still be a solid starting point.
Give Your Design Room to Work
The artwork itself is only half the decision. The garment is part of the canvas.
Bold graphics, large photos, and reunion designs often shine on the front or back of a T-shirt, crew sweatshirt, or hoodie. A small logo, monogram, or short phrase may feel more polished on the left chest. Caps have a smaller printable area, so simple marks and short text tend to work best there. Tote bags are great for tall illustrations, bookish quotes, market logos, and everyday carry designs.
Keep key details away from the very edges of the print area. A design needs a little breathing room, both visually and physically. This is especially true for names, dates, and fine borders. A clean layout reads better, looks more intentional, and gives your artwork a better chance of looking good across different garment sizes.
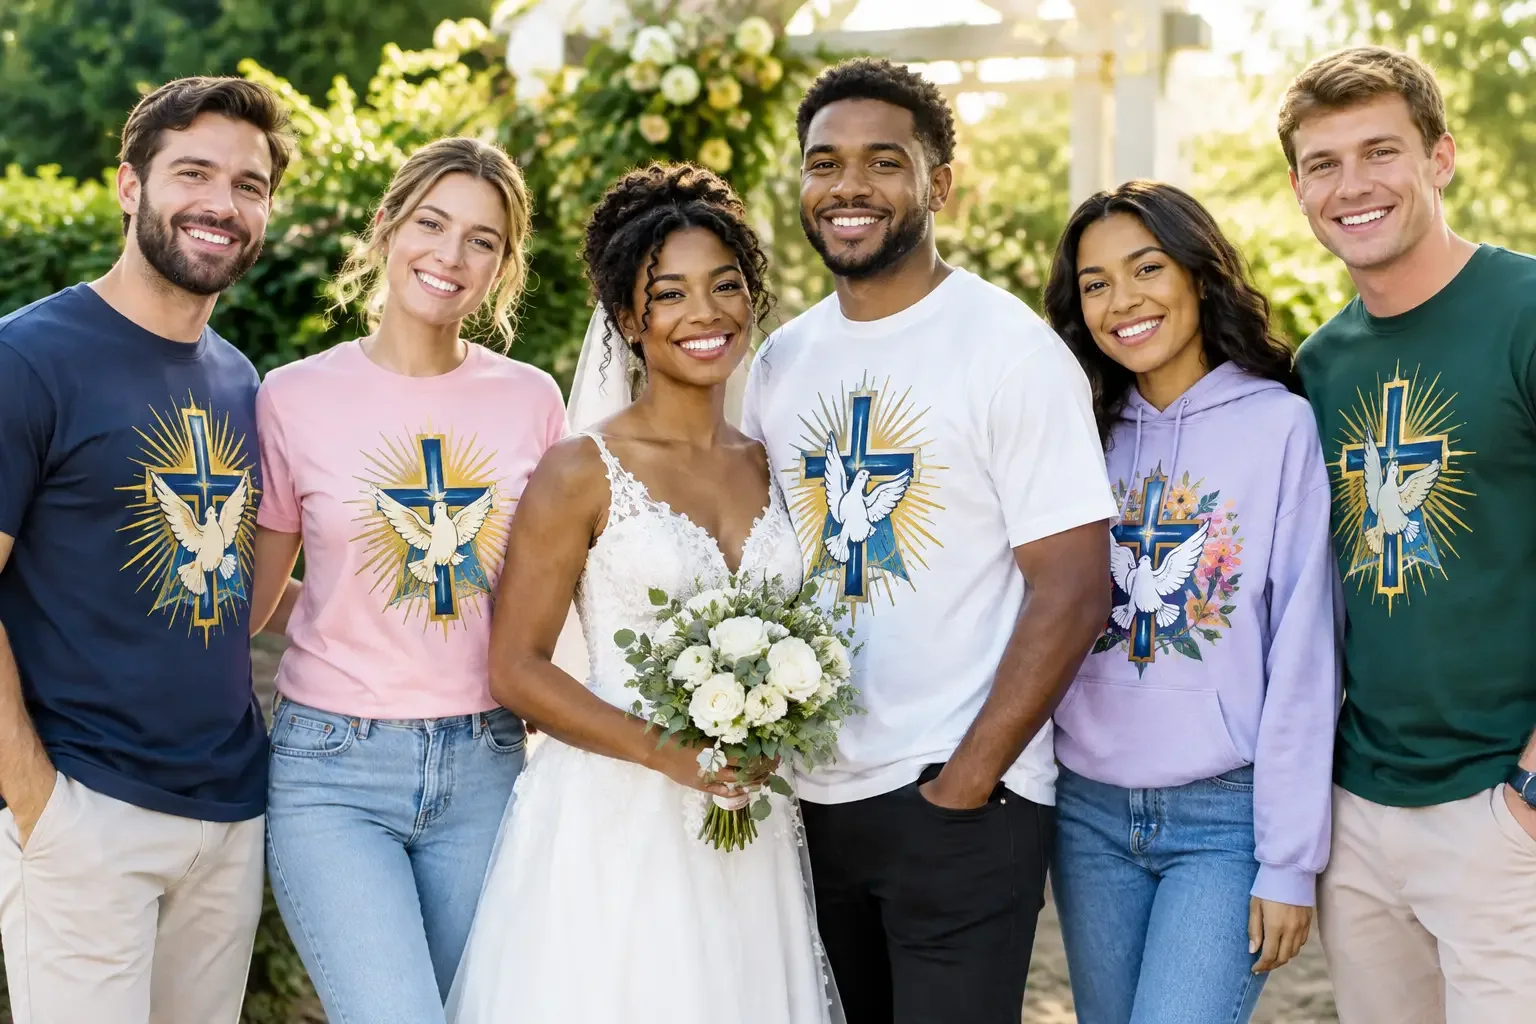
If you are ordering for a group, choose a design that works from youth to adult sizes when needed. An oversized graphic that looks perfect on a large adult tee may overwhelm a smaller kids' shirt. Sometimes the smartest move is a slightly more compact design that feels balanced for everyone.
Using Photos, Logos, and Original Ideas Responsibly
Before you upload, make sure you have permission to use the artwork, photo, logo, or text. This is easy when it is your own design, your organization’s approved logo, or a photo you took with the people involved. For business uniforms, check that you have the current logo file and any brand-color requirements before the order goes in.
For a group photo, a quick check-in can save awkwardness later. For a school, church, team, or company design, confirm the wording, dates, and spelling with the person who owns the details. Custom printing is personal, which is exactly why a two-minute proofread is worth it.
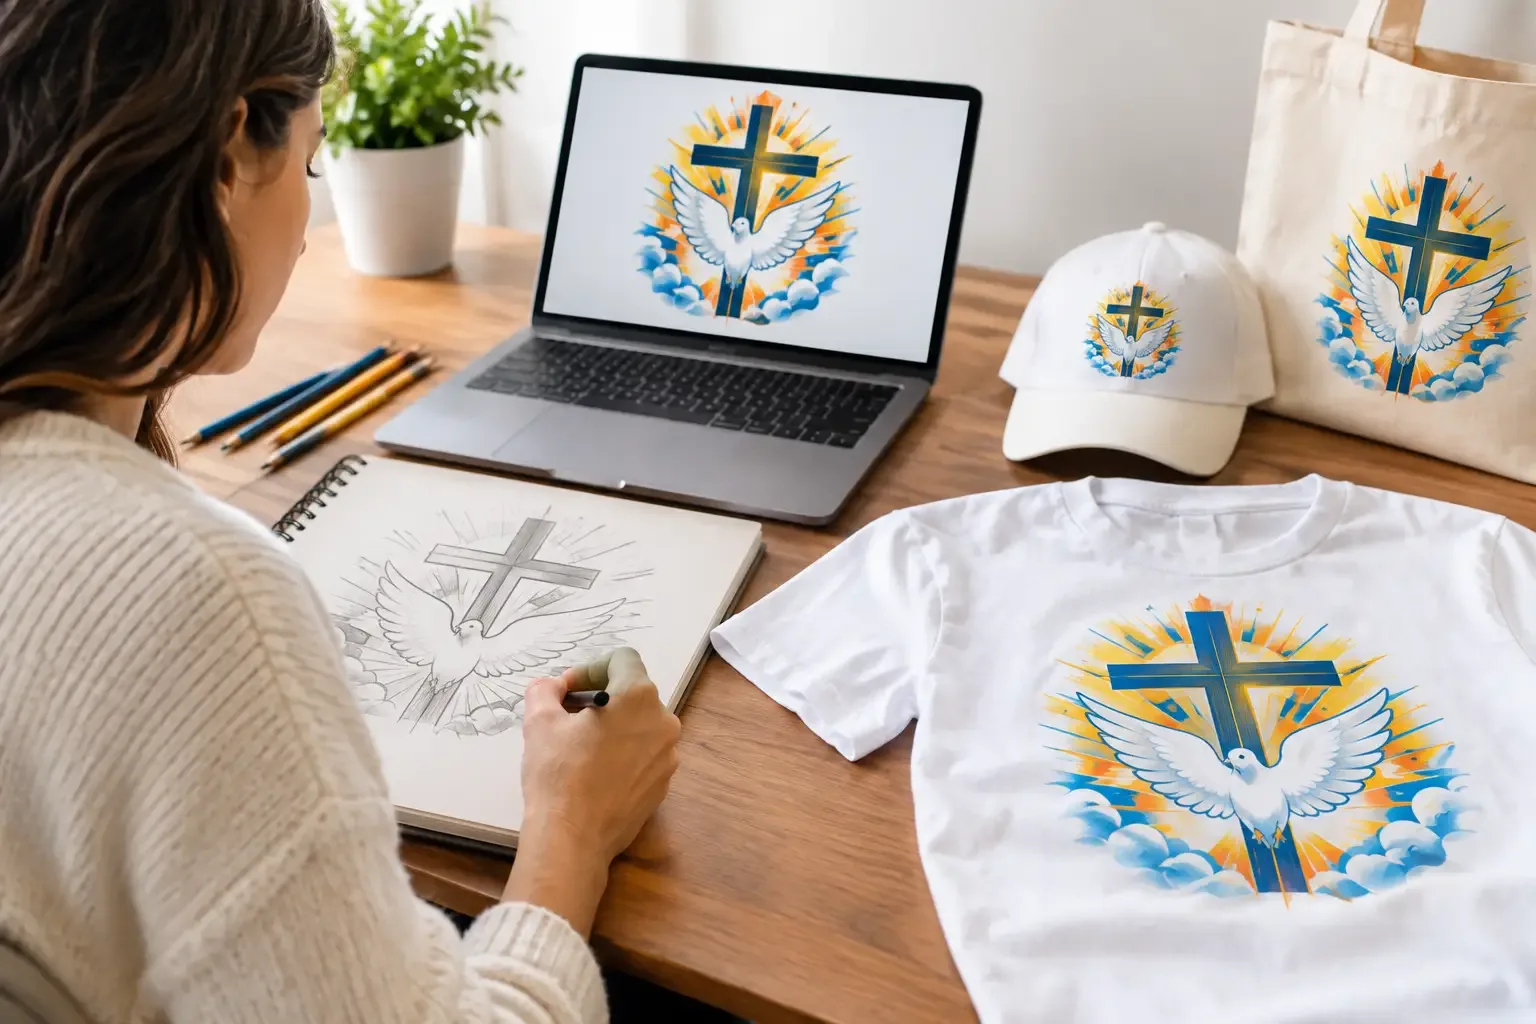
Only have an idea, a rough sketch, or a phrase typed in your notes app? That is a completely valid place to start. Coolprez designers can turn an idea into finished artwork, with a first draft within 2 business days and two rounds of changes included. You bring the joke, the memory, the theme, or the message. The design support helps turn it into something people will actually want to wear.
What Happens After You Upload
If you choose the free check when uploading, a person looks at the file before it prints. They look for issues that can affect the result, such as low resolution, hard-to-read text, misplaced elements, or a design that does not suit the selected product.
That review is a useful safety net, not a replacement for your approval. Look closely at the preview, confirm garment color and sizes, and make sure your design says exactly what you mean. For group orders, a shared order link lets each person choose their own size and pay for their own piece. No more chasing sizes in a group chat or collecting wrinkled cash at practice.
Whether you need one shirt for a gift or coordinated apparel for a whole crew, there is no minimum order. Each piece is printed after it is ordered at the studio closest to the customer in the United States or Canada. Production and shipping details are shown at checkout, so you can make a plan before you place the order.
Your artwork does not have to arrive perfectly packaged. Upload the clearest file you have, make the design choices you can, and ask for help when the idea needs a little shape. The best custom shirt is rarely the most complicated one. It is the one that makes someone say, “That is so us.”